All Images
Introduction
Figure 1
Yoda logo
Connecting to the Yoda portal
Figure 1
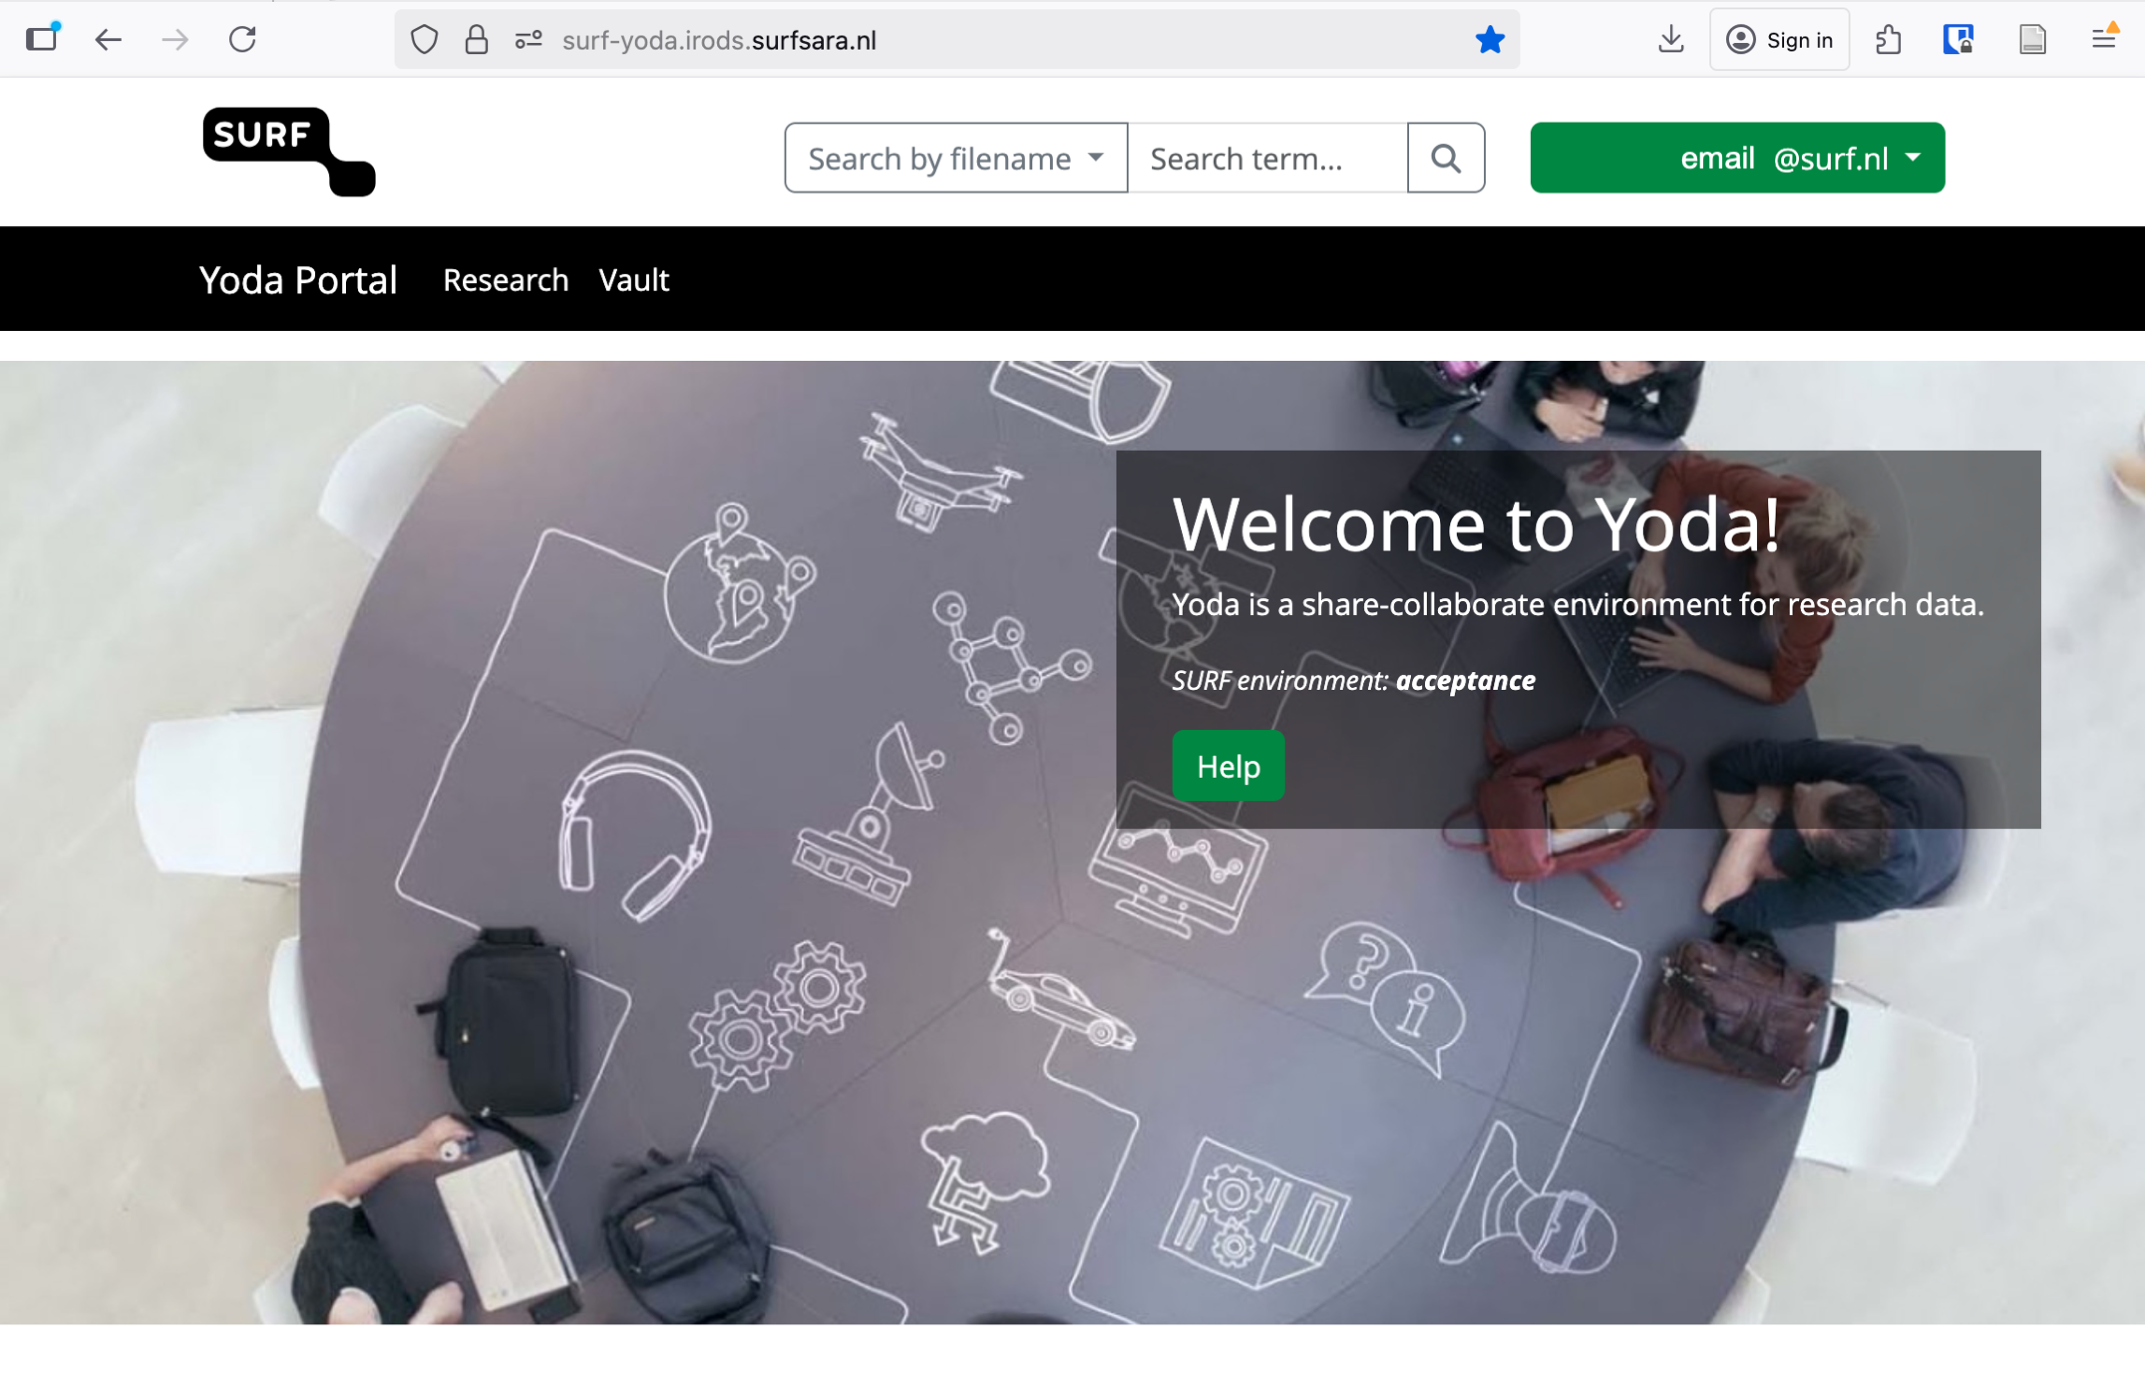
Example of how the Yoda portal looks once logged
in
Finding and reusing existing data
Figure 1
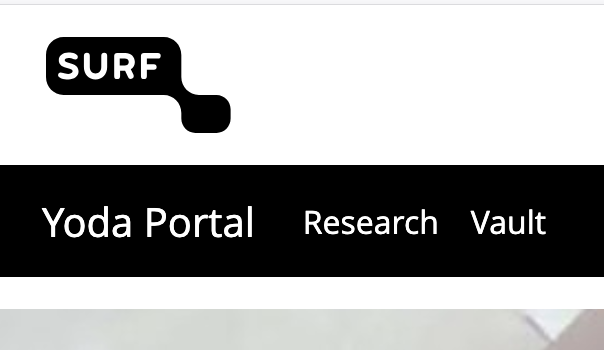
Portal detail: Research and Vault tabs
Figure 2
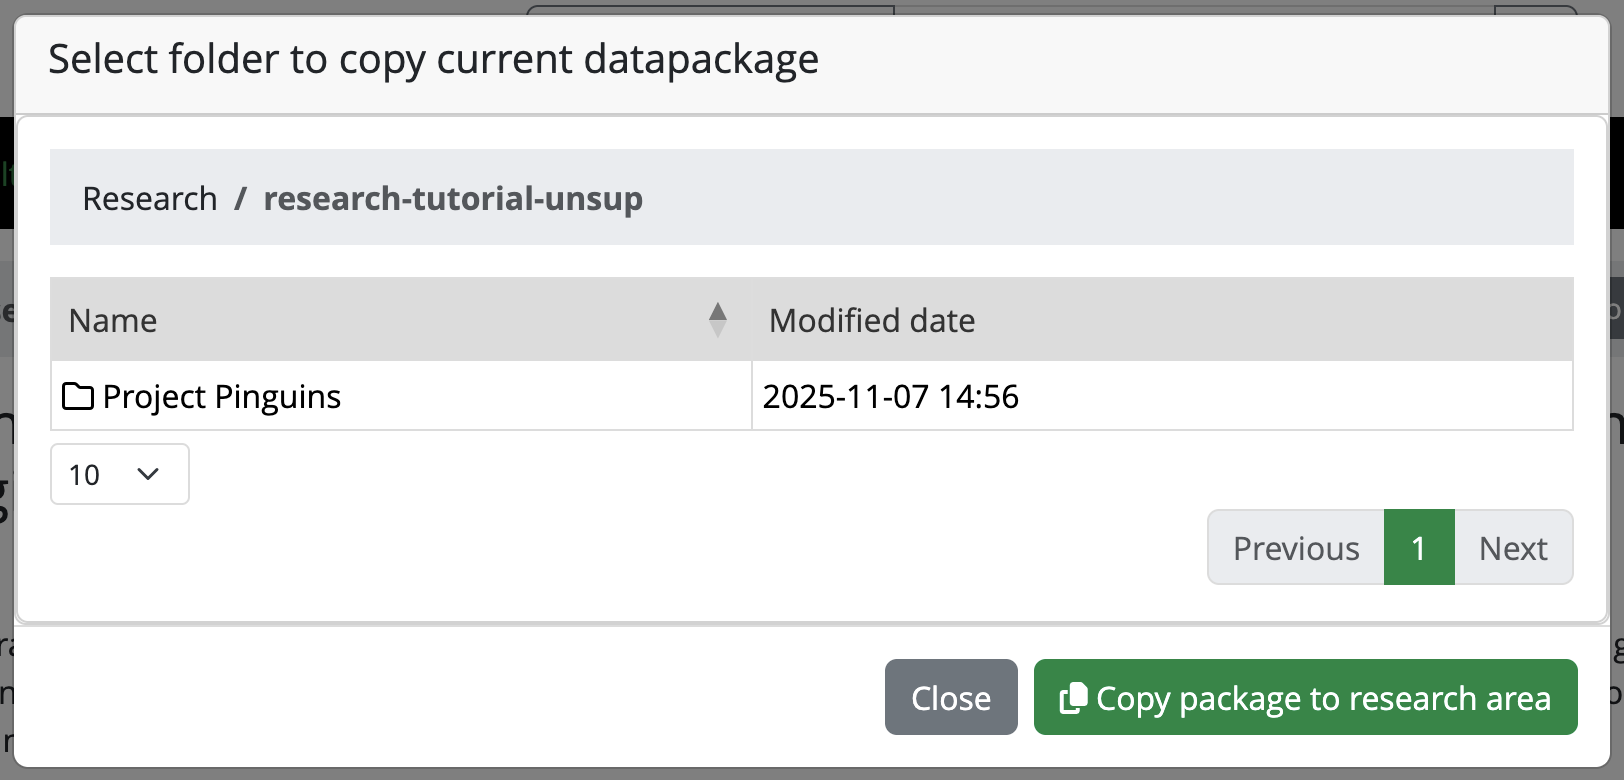
Picture of the pop-up for copying the
datapackage to research space
Unsupervised RDM cycle
Figure 1

Example of missing information in a mandatory
metadata field
Figure 2
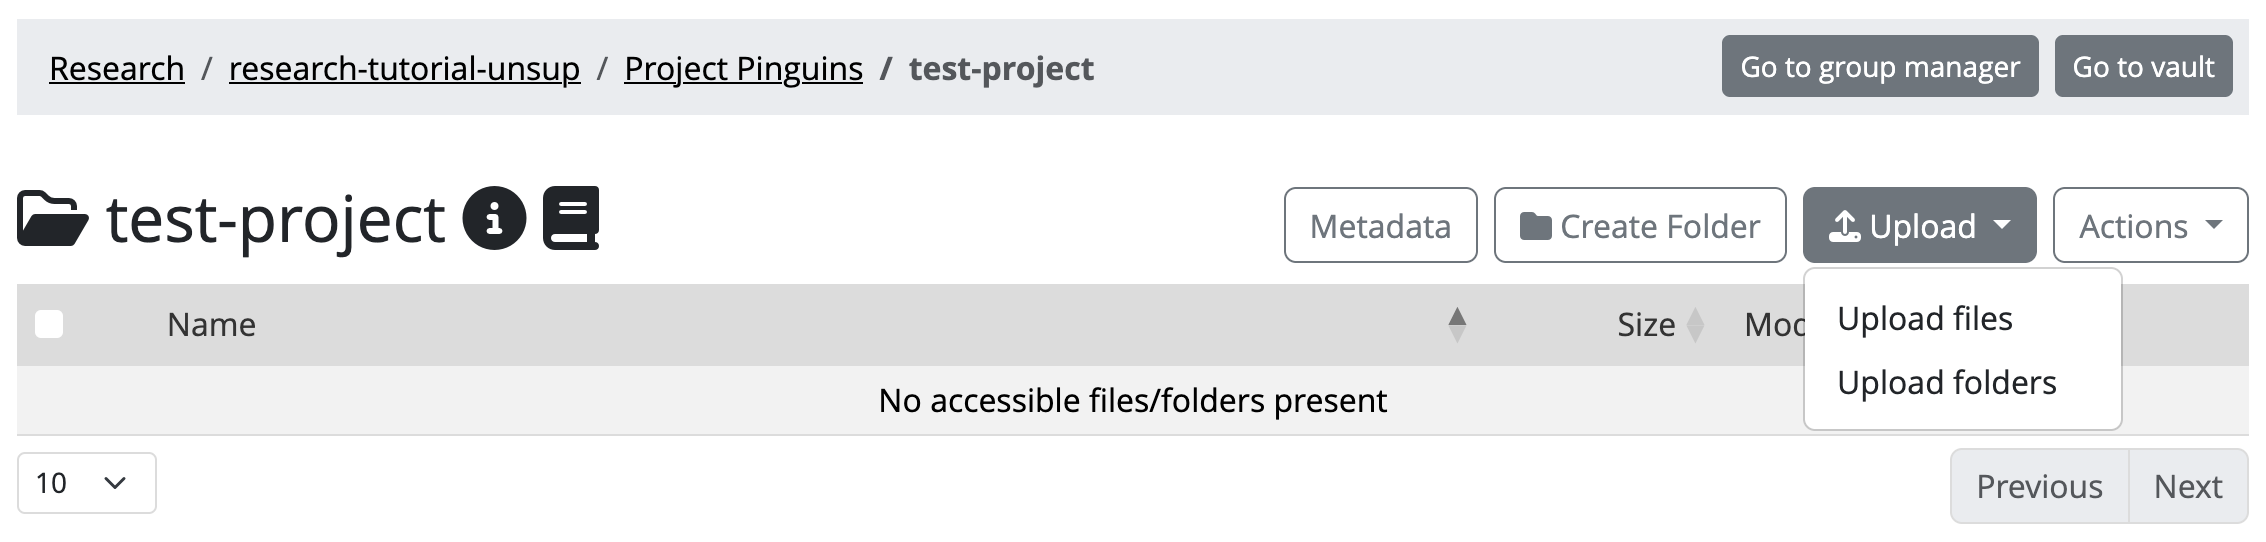
Yoda’s upload button
Figure 3
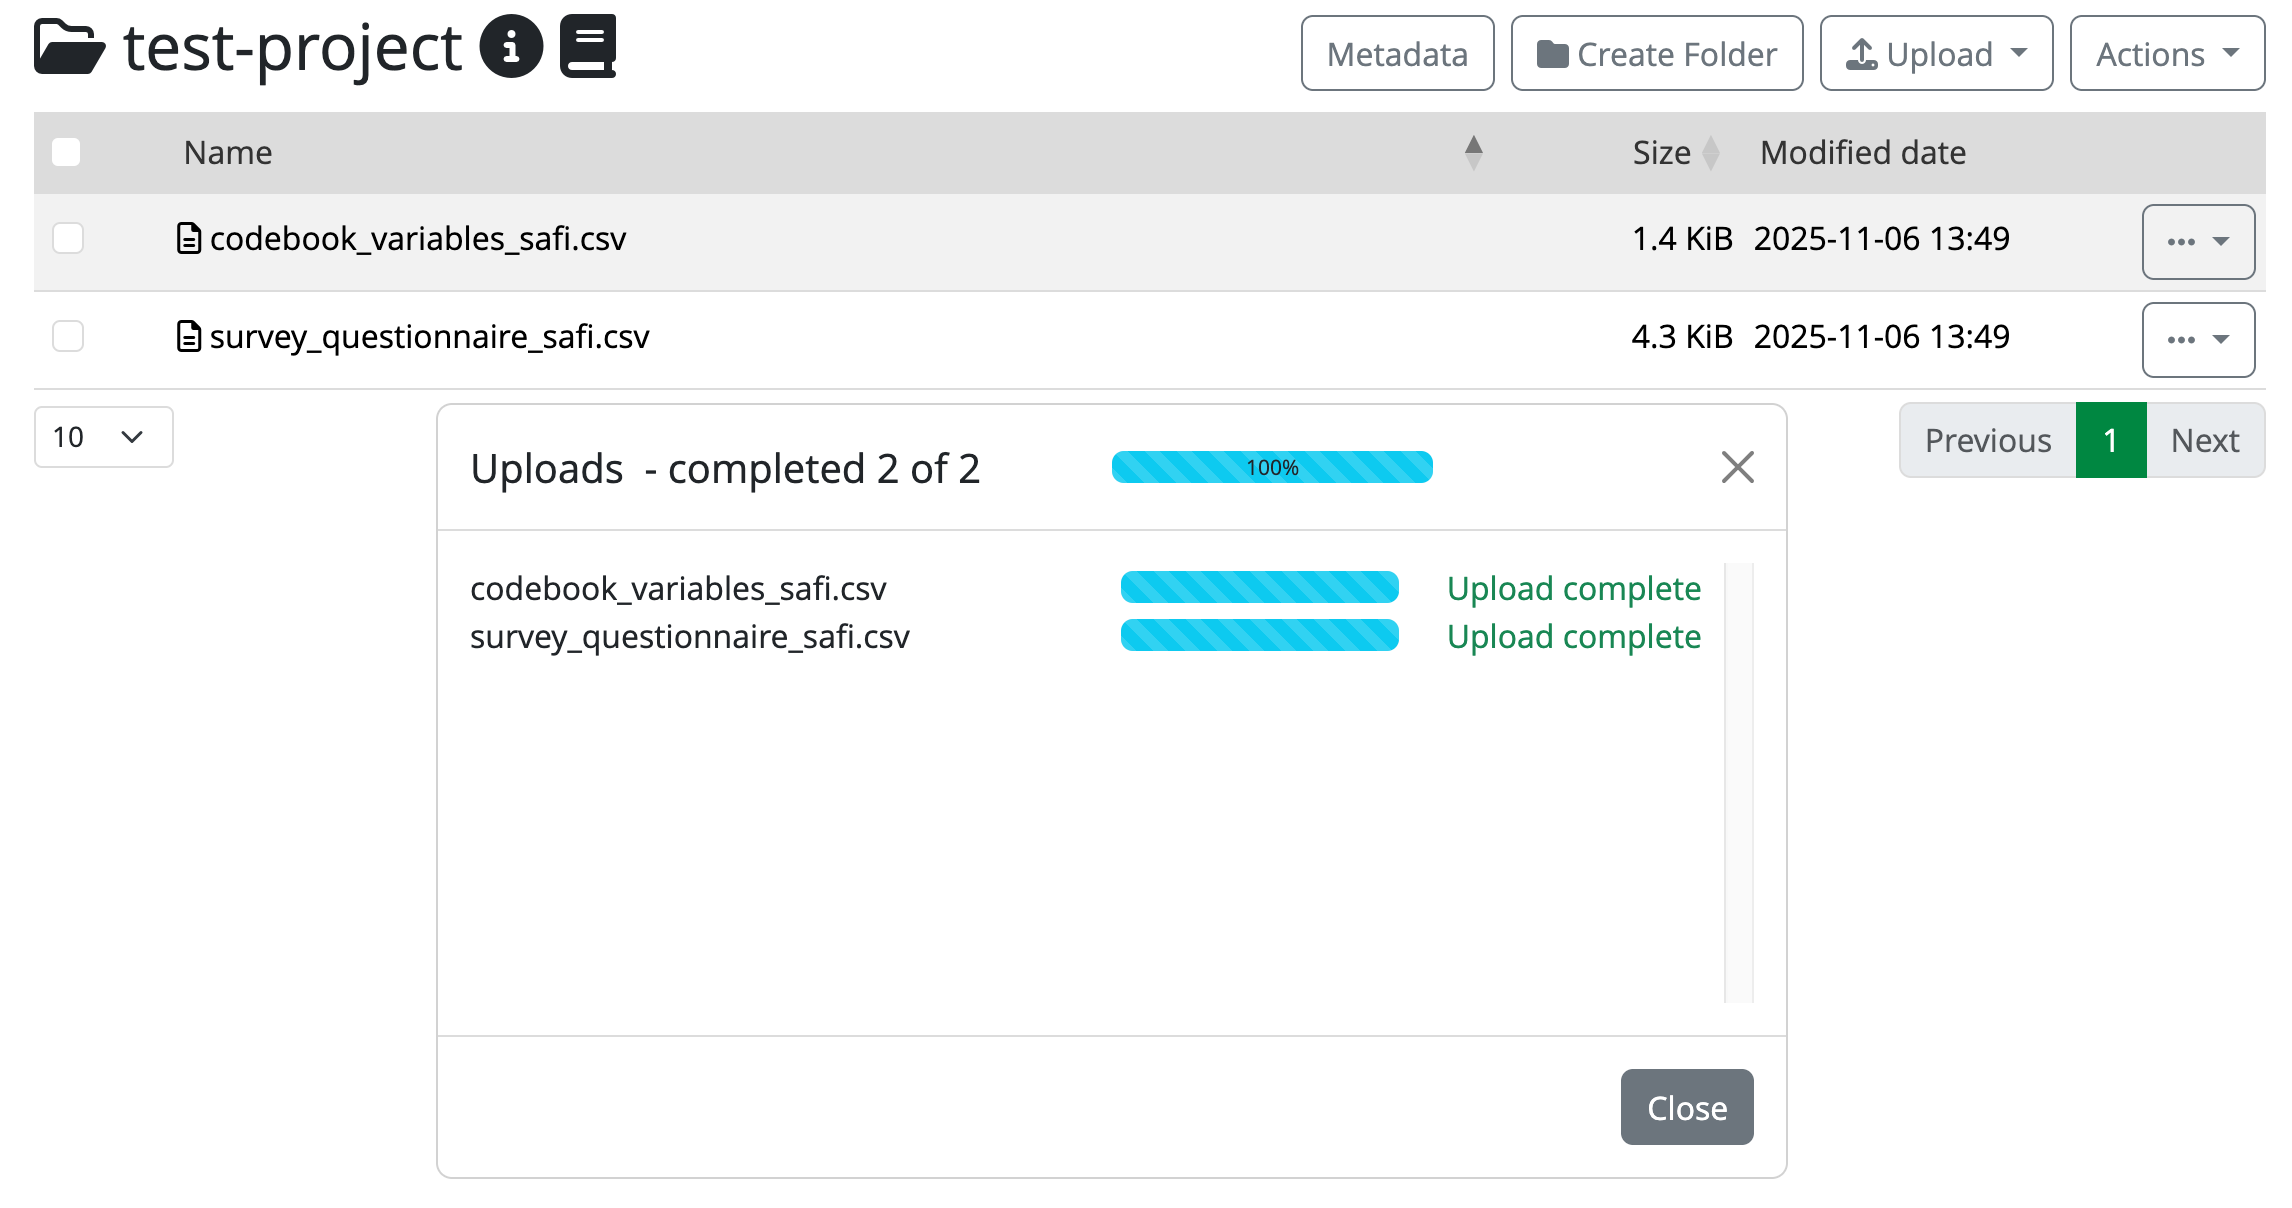
Completed uploads in the portal
Figure 4
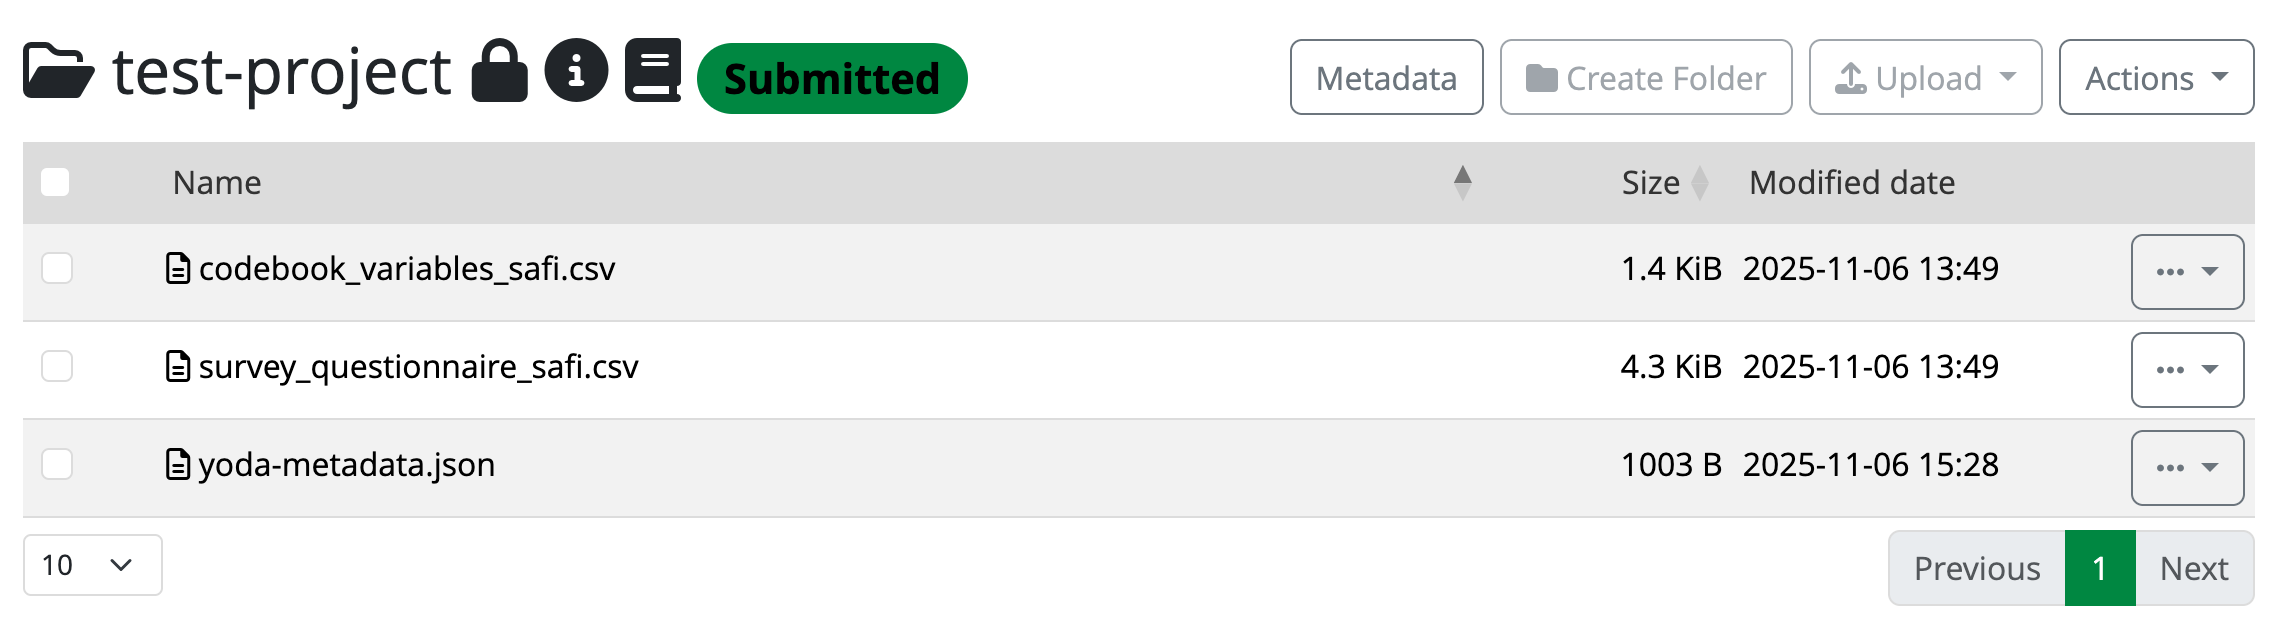
The datapackage is now submitted to the
Vault
Figure 5
After accepting, you will see that a new green label appears next
to the folder’s name title. After a few minutes (depending on the file
sizes and how busy the server may be), it will change from “Accepting”
to “Accepted”. 
Figure 6
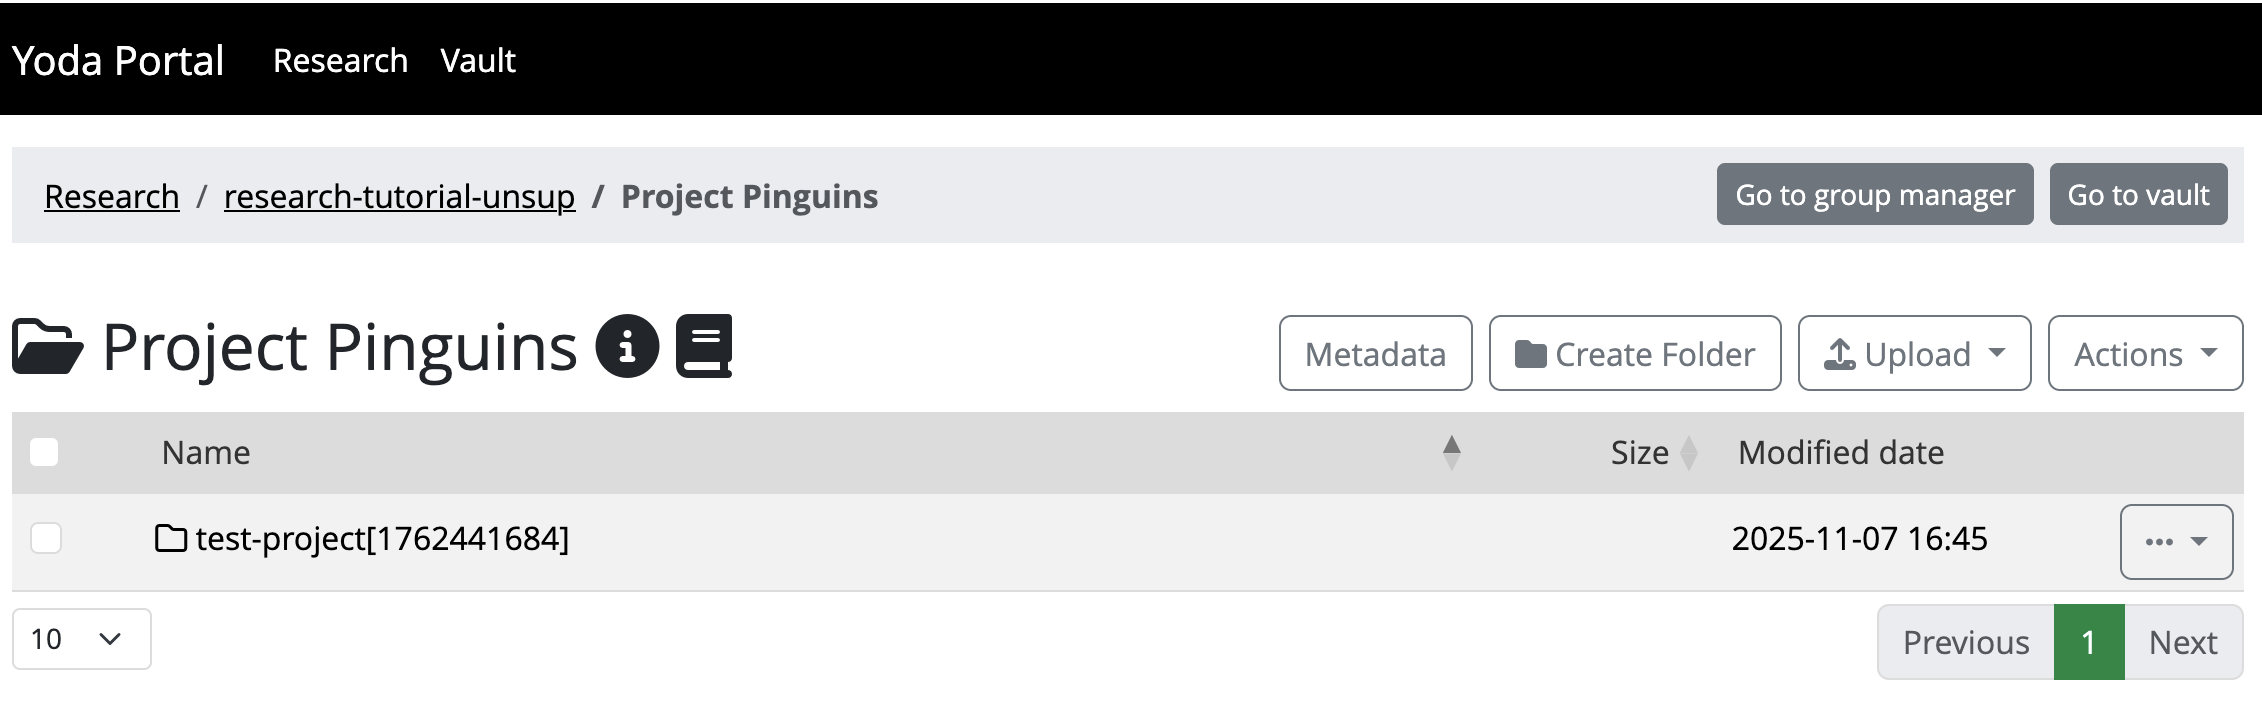
Screenshot of a datapackage copied back into
Research (including Unix epoch)
Supervised RDM cycle
Figure 1
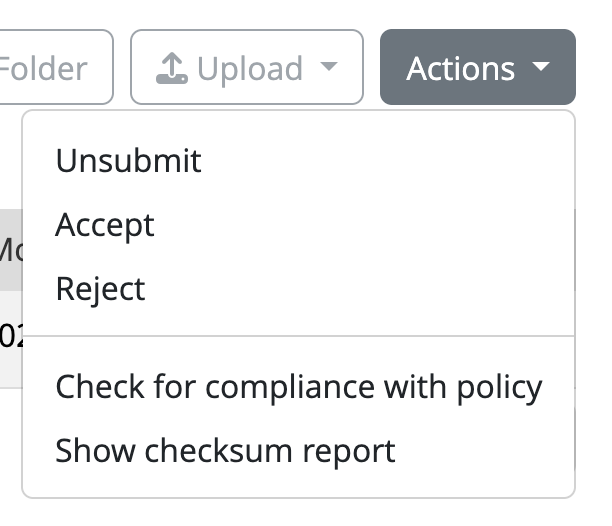
Click the Action button in the Research area to
accept or reject the submission
Archiving and publishing your data
Figure 1
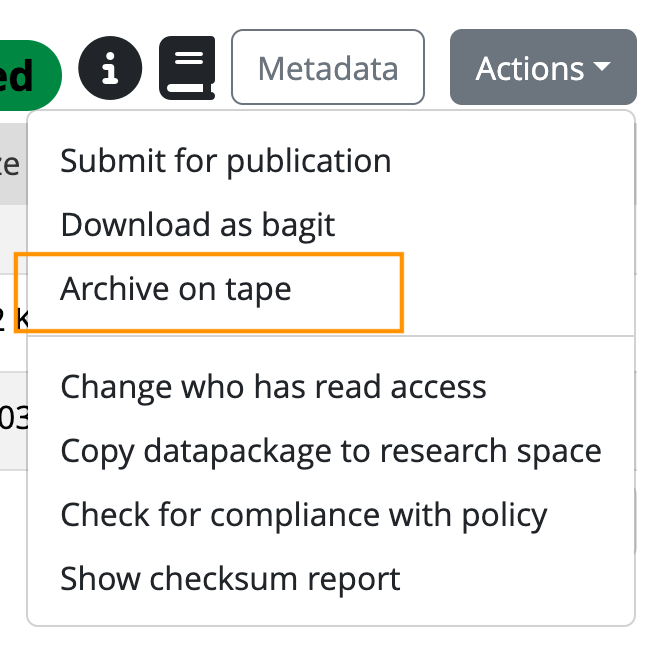
Click the Action button in the Vault area to
archive the dataset on tape
Figure 2
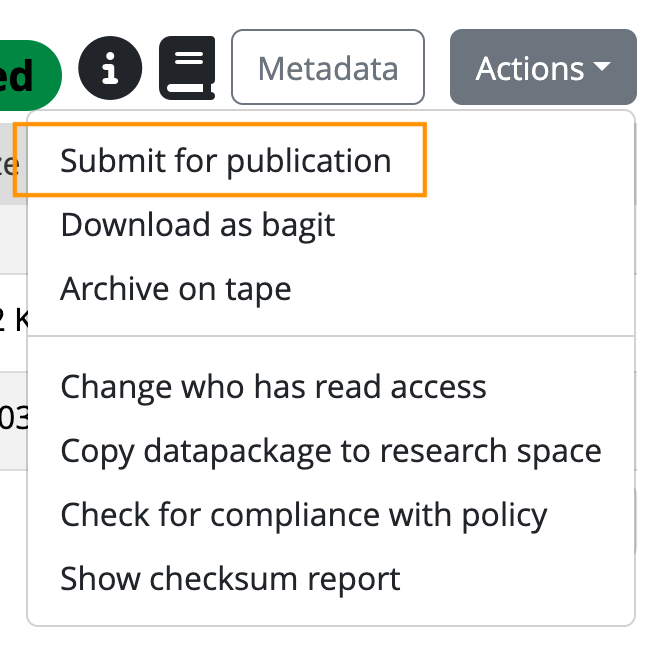
Click the Action button in the Vault area to
publish the dataset